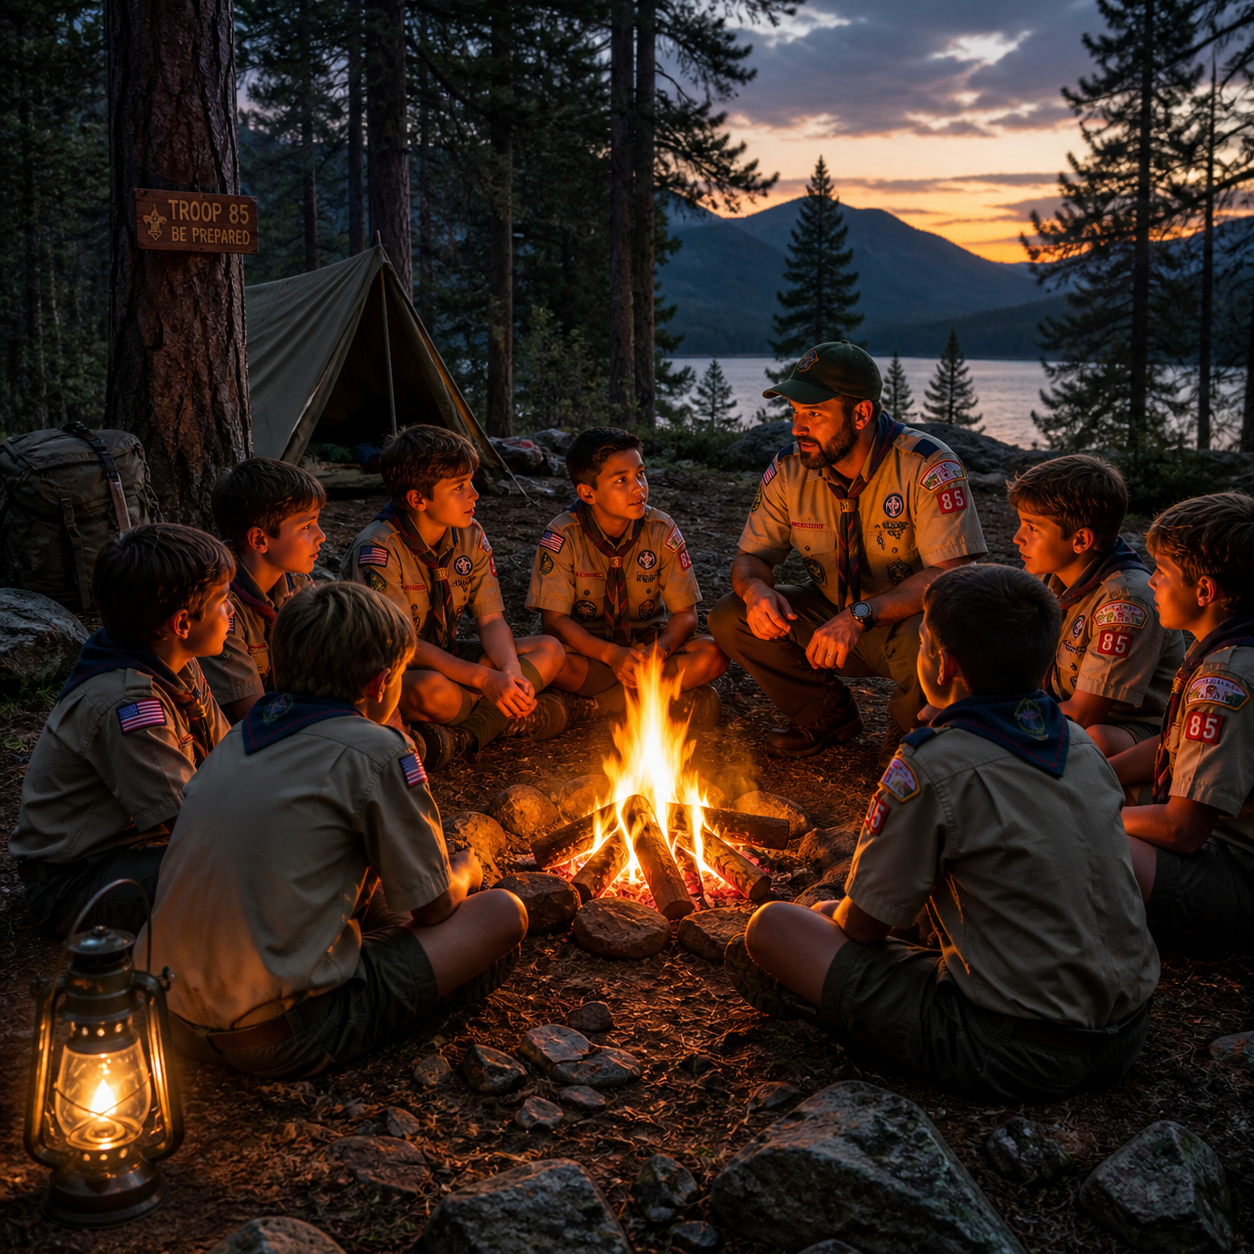
Building the Perfect Campfire: Safety and Techniques Every Scout Should Know
A campfire is more than warmth and light. For scouts and young campers, it represents one of the most meaningful outdoor skills they'll ever learn — a hands-on lesson in responsibility, patience, and respect for nature. Done right, building a fire teaches the fire triangle, sharpens observation skills, and builds genuine confidence. Done carelessly, it causes lasting damage to the environment and puts people at risk.
This guide walks through everything a scout leader or young camper needs to know: site selection, materials, fire lay techniques, ignition, ongoing safety, and proper extinguishing. Follow these steps every time, and campfire skills become second nature.
Why Campfire Skills Are a Core Outdoor Competency
Campfire skills are fundamental to outdoor education because they combine technical knowledge, environmental awareness, and personal responsibility in a single activity. Few other scouting tasks demand so much from a young person at once.
Understanding the fire triangle — oxygen, heat, and fuel — isn't just a science lesson. It's the practical foundation for every decision made around a fire: why you arrange materials a certain way, why you control airflow, why wet wood fails. When scouts understand the why behind each step, they become safer and more capable outdoors.
Campfire competency also ties directly into Leave No Trace principles and wilderness first aid awareness. A scout who builds fires well is also a scout who thinks ahead about impact, risk, and cleanup. That mindset carries into every other outdoor skill they develop.
Choosing the Right Location and Preparing Your Site
The safest campfire starts before a single match is struck — with a well-chosen site. Always use an existing fire ring or fire pit when one is available. Established rings concentrate ash, protect surrounding soil, and signal that the site has been used safely before.
If no ring exists, select bare mineral soil or gravel at least 15 feet from tents, shrubs, and tree canopies. Avoid dry grass, leaf litter, or any surface that could carry a spark. Check overhead for low-hanging branches — embers travel upward.
Wind direction matters more than most beginners expect. Position yourself and your group upwind of the fire site before you start. A sudden gust can push smoke or sparks toward faces and gear. If wind is strong and unpredictable, reconsider whether a fire is appropriate at all.
Before lighting anything, clear a 10-foot radius of debris. Loose leaves and pine needles are the most common cause of fires spreading beyond their intended area. Keep a bucket of water or a small shovel nearby from the start — not as an afterthought.
Gathering the Right Materials: Tinder, Kindling, and Fuel Wood
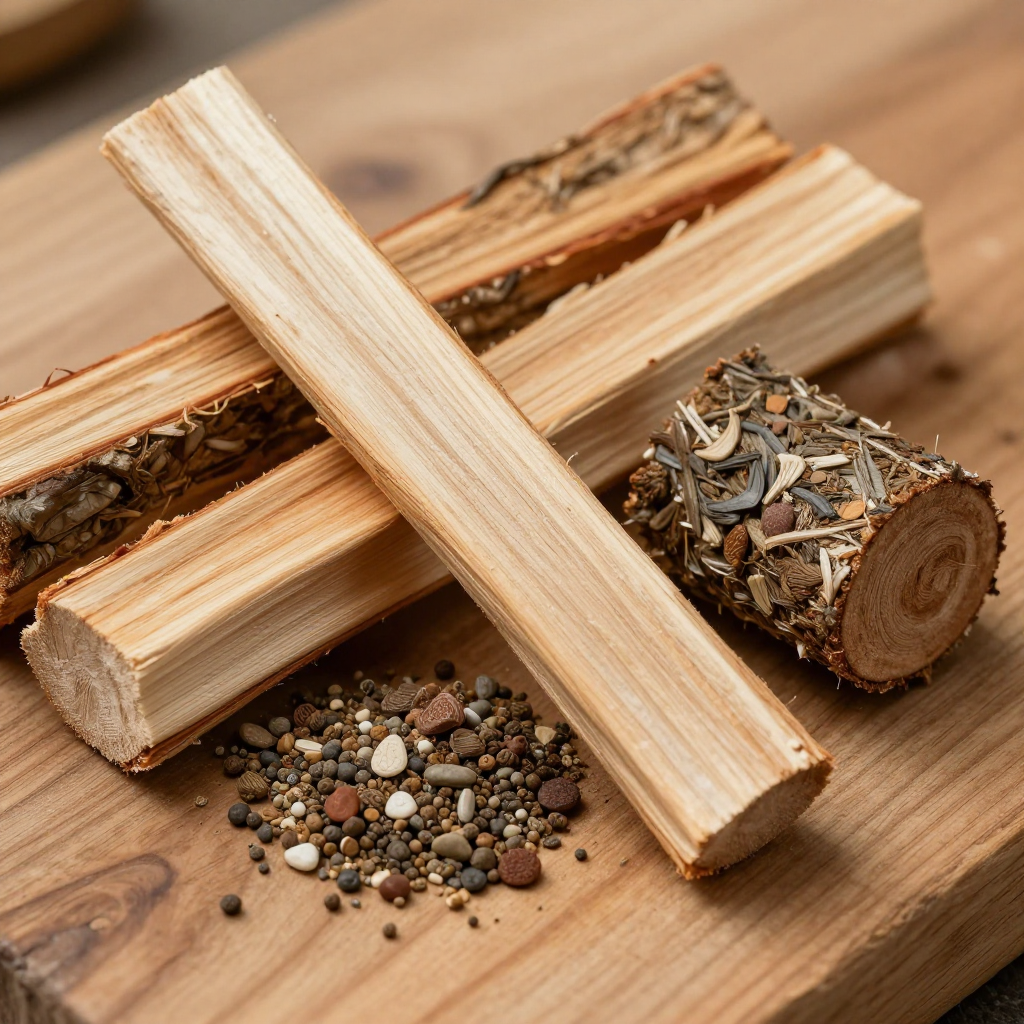
A successful campfire depends on the three-layer material system: tinder, kindling, and fuel wood. Each layer serves a distinct purpose, and skipping or skimping on any one of them is the most common reason fires fail to catch or burn unevenly.
- Tinder ignites from a spark or small flame. Dry leaves, grass, bark shavings, or commercial fire starters all work well. The key word is dry — tinder that holds any moisture will frustrate even experienced fire-builders.
- Kindling bridges the gap between tinder and larger wood. Use dry sticks roughly pencil-to-thumb thickness. Collect more than you think you need; kindling burns fast.
- Fuel wood is what sustains the fire. Wrist-to-arm-thick logs of dry, seasoned hardwood burn longest and produce the best coals. Softwoods like pine burn faster and throw more sparks.
Source materials responsibly. Collect only dead, dry wood from the ground — never break branches from living trees. Avoid treated lumber, painted wood, or anything that might release toxic fumes. In many parks and wilderness areas, collecting firewood is restricted; check regulations before you gather, and consider bringing wood from home or purchasing it locally to prevent transporting invasive insects.
Fire Lay Techniques — Teepee, Log Cabin, and Star Fire
The three most practical fire lay styles for scouts are the teepee, the log cabin, and the star fire. Each has specific strengths, and choosing the right one depends on your purpose and the group's experience level.
Teepee Fire Lay
The teepee lay is the best starting point for beginners. Place a tinder bundle at the center, then lean kindling sticks around it in a cone shape, leaving a small opening facing the wind for airflow. Add progressively larger sticks in the same pattern. This lay catches quickly, produces a tall flame, and is ideal for cooking or signaling. The downside: it burns fast and collapses inward, so it requires more frequent feeding.
Log Cabin Fire Lay
Stack pairs of fuel logs in alternating directions, like the walls of a cabin, with tinder and kindling inside. The log cabin lay burns longer and more steadily than a teepee, making it excellent for group warmth or extended campfire sessions. It takes slightly more material and setup time, but the payoff is a fire that doesn't need constant attention.
Star Fire
The star fire uses large logs arranged like spokes of a wheel, with the burning ends meeting at the center. As wood burns, you push the logs inward. This method is fuel-efficient and low-maintenance — a good choice when wood is limited or when a smaller, controlled fire is appropriate. It's also easier for younger scouts to manage safely since there's no stacking involved.
Lighting the Fire Safely — Step by Step
Lighting a campfire safely requires adult supervision for younger scouts and a calm, deliberate approach for everyone. Rushing the ignition process is how people get burned or end up with a fire that won't cooperate.
Follow these steps in order:
- Confirm your site is prepared, water is nearby, and all group members are positioned upwind and at a safe distance.
- Place your tinder bundle at the base of your chosen fire lay.
- Strike a match or use a lighter with a steady hand, shielding the flame from wind with your body (not your face directly over the tinder).
- Hold the flame to the base of the tinder bundle and allow it to catch — don't rush by adding more material immediately.
- Once tinder is burning steadily, gently add kindling one piece at a time, maintaining the structure of your fire lay.
- When kindling is burning well, add the first pieces of fuel wood. Avoid smothering the young fire with too much wood at once.
Scout leaders should demonstrate the ignition process before allowing youth to attempt it, and should remain present throughout. For younger scouts, handling matches or lighters should always involve direct adult oversight — this is non-negotiable, not a suggestion.
Campfire Safety Rules to Practice Every Time
Safe campfire behavior isn't a checklist you run through once — it's a set of habits practiced every single time a fire is lit. The fire triangle concept is useful here: remove any one element (oxygen, heat, or fuel), and the fire stops. Understanding this helps scouts respond intelligently rather than panicking if something goes wrong.
Core rules that apply to every campfire, every time:
- Never leave a fire unattended. Even a small, seemingly stable fire can spread in minutes if wind picks up or an ember rolls out.
- Keep the fire to a manageable size. A fire that fits within the fire ring is the right size. Bigger is not better — it's harder to control and leaves a larger impact.
- Keep water or a shovel within arm's reach at all times, not just at the end of the session.
- No running, pushing, or horseplay near an active fire. This rule applies to all ages.
- Synthetic clothing melts; natural fibers are safer around flames. Loose sleeves and scarves are hazards.
- Be aware of burn bans and fire regulations before every outing. Many areas implement seasonal or weather-related restrictions. Check with the land management agency or park service before your trip — ignoring a burn ban is both illegal and dangerous.
Wilderness first aid awareness is part of campfire safety too. Leaders should know basic burn treatment and have a first aid kit accessible. Minor burns from sparks happen; knowing how to respond calmly and correctly is part of responsible outdoor leadership.
Putting Out Your Campfire the Right Way
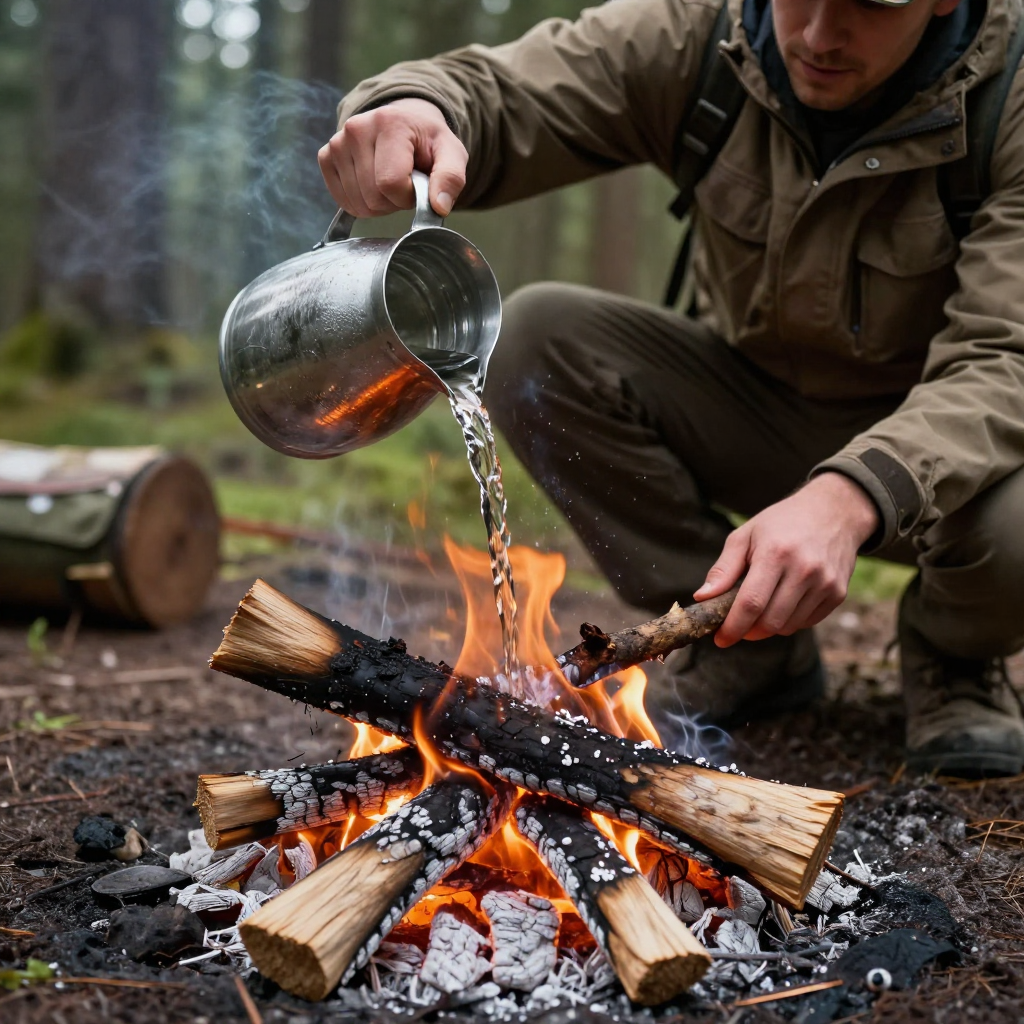
The correct way to extinguish a campfire is the "drown, stir, feel" method — and it should be treated as mandatory, not optional, before anyone leaves the site. A fire that looks out can still have live embers buried in the ash that can reignite hours later.
Here's how to do it properly:
- Drown: Pour water generously over the fire, including the edges of the fire ring. Use more water than you think is necessary.
- Stir: Use a stick or shovel to mix the ash and embers, breaking up any clumps that might be holding heat. This exposes buried embers to the water.
- Feel: Hold the back of your hand a few inches above the ash. If you feel any heat, repeat the process. The fire is only out when the ash is cool to the touch.
Scatter cooled ash and any unburned wood away from the site if you used a non-designated location. Restore the area as close to its natural state as possible — this is Leave No Trace in practice, not just in theory. According to the Leave No Trace Center for Outdoor Ethics, minimizing campfire impacts is one of the seven core principles every outdoor user should follow.
Teach scouts to complete the drown-stir-feel process themselves before leaving any campsite. Making it a personal responsibility — not something the leader handles while everyone else walks away — builds the environmental stewardship habits that last a lifetime.
Frequently Asked Questions
How do I build a campfire in wet or rainy conditions?
Wet conditions make fire-building significantly harder but not impossible. Focus on finding dry tinder under logs, inside dead standing trees, or in your pack (always carry backup fire-starting material). Use a teepee lay to maximize airflow, and shield your tinder from rain while you light it. A fire starter or wax-based tinder cube helps enormously in damp weather.
What is the safest campfire size for a group of scouts?
A fire that fits comfortably within a standard fire ring — roughly 2 to 3 feet in diameter — is appropriate for most scout groups. Larger fires are harder to control, produce more sparks, and leave a bigger environmental footprint. Resist the urge to build impressively large fires; a well-managed small fire is far more useful and far safer.
At what age can young scouts light a fire on their own?
Age guidelines vary by scouting organization, but most programs introduce supervised fire-lighting around ages 10 to 12, with direct adult oversight. Independent fire-building is typically reserved for older scouts who have demonstrated consistent safety habits. Check your specific program's guidelines — and always prioritize demonstrated competency over age alone.
How do I know if campfires are allowed in the area I'm visiting?
Check with the relevant land management agency before your trip — national forest websites, state park offices, and the U.S. Forest Service publish current fire restrictions online. Many areas also post notices at trailheads and campground entrances. When in doubt, call ahead. Burn bans can change quickly based on drought conditions or fire danger ratings.
What should I do if a campfire gets out of control?
Move everyone away from the fire immediately and call for help. Use any available water to slow the spread, but do not put yourself at risk trying to fight a fire that has grown beyond the fire ring. In a wilderness or backcountry setting, know the emergency contact number for the area before you go. Prevention — keeping fires small, choosing sites carefully, and monitoring wind — is always more effective than emergency response.