Navigating with a Map and Compass: A Beginner’s Guide
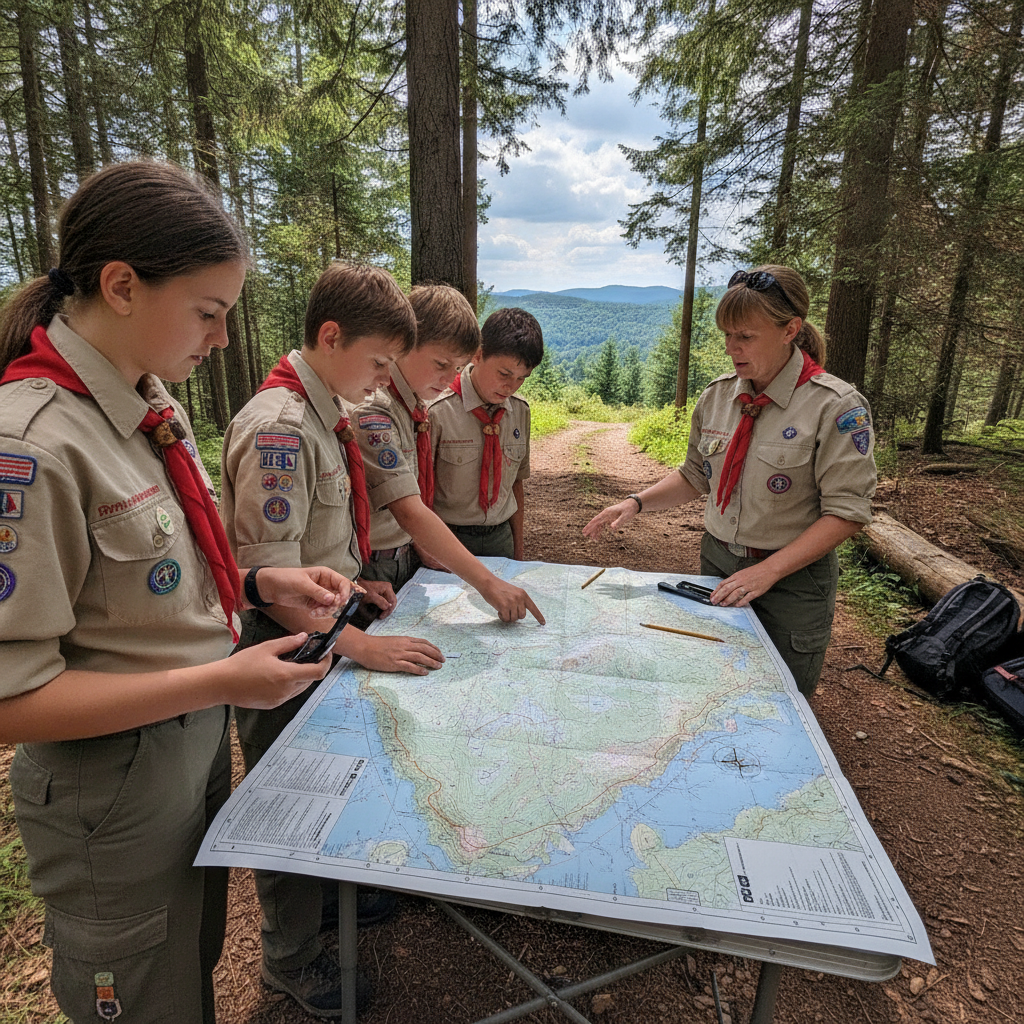
Map-and-compass navigation helps scouts understand where they are, where they want to go, and how to travel between the two safely. With a little practice, a topographic map and compass can turn a confusing landscape into a clear series of decisions.
Why Map-and-Compass Navigation Matters
Map-and-compass navigation builds outdoor confidence, awareness, and independence by teaching scouts to make decisions from evidence rather than guesswork. These skills remain useful when a phone battery dies, a trail sign is missing, or weather reduces visibility.
Navigation also encourages careful observation. Scouts learn to compare the map with the ground, notice changes in elevation, identify landmarks, and communicate their position to the rest of the group. That process develops patience and responsibility, especially when several people must agree before the group changes direction.
For a troop, navigation practice works best as a supervised activity rather than a race. A short route with two or three checkpoints provides enough challenge without creating unnecessary risk. Adults should review the route, weather, clothing, emergency plan, and group expectations before anyone sets out.
A useful habit is the stop, check, and confirm routine:
- Stop before a junction, major turn, or unfamiliar feature.
- Check the map, compass, terrain, and last known location.
- Confirm the next direction with a buddy before moving.
This simple pause prevents small errors from becoming large detours.
Get to Know Your Map and Compass
A topographic map represents natural and human-made features from above, while a compass shows direction. Together, they connect paper information with the landscape around you.
Start with the map legend. It explains symbols for trails, roads, streams, buildings, boundaries, campsites, and other features. The legend also helps you distinguish between different line types and colors, which may vary by map publisher.
Next, check the map scale. A scale such as 1:25,000 means one unit on the map represents 25,000 of the same units on the ground. A map with a larger scale usually shows a smaller area in greater detail; a map with a smaller scale covers more ground but may show fewer details. Estimate distance before planning a route, and remember that hills, thick vegetation, and stream crossings can make a short map distance take longer to walk.
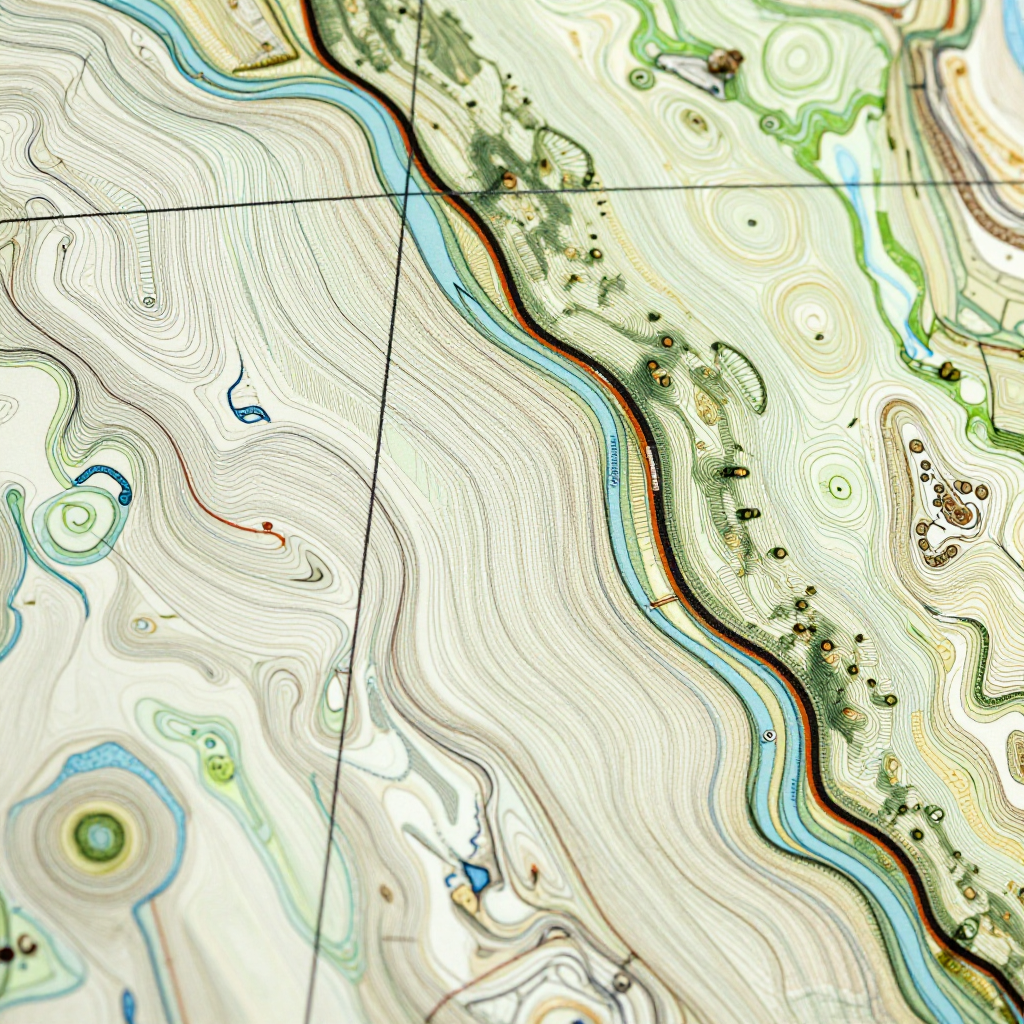
Contour lines show elevation. Each line connects points at the same height, and the contour interval tells you the elevation difference between neighboring lines. Lines close together indicate a steep slope; lines spaced farther apart show gentler ground. Closed loops often represent hills, while contour lines that form V shapes can indicate valleys or stream channels.
A basic baseplate compass usually includes:
- A magnetic needle, with the colored end pointing toward magnetic north.
- A direction-of-travel arrow.
- A rotating bezel marked in degrees.
- Orienting lines and an orienting arrow inside the bezel.
- A straight edge for measuring or aligning routes on a map.
Do not confuse true north with magnetic north. True north points toward the geographic North Pole, while magnetic north is the direction indicated by a compass needle. The difference, called magnetic declination, changes by location and over time. Check your map or a reliable local source for the current declination and follow the instructions for your compass. The [U.S. Geological Survey topographic map guide] provides helpful background on reading topographic maps.
How to Orient a Map
To orient a map, rotate it until the map’s north direction matches north in the landscape. Once oriented, features on the map appear in the same relative direction as the hills, trails, and streams around you.
Place the map flat or hold it steady. Find the north arrow or grid north marking, then turn your body and map together until the compass needle aligns with the compass’s north marking. If your map and compass account for magnetic declination differently, apply the correct local adjustment according to the map and compass instructions.
Now compare the map with what you can see. If a trail runs toward a hill on the map, the same trail should lead toward that hill in front of you. If the match looks wrong, stop and investigate instead of forcing the map to fit your assumption.
You can also orient a map without a compass when the landscape is clear. Identify two or more visible landmarks, such as a distinctive hill, road, tower, or stream bend. Rotate the map until those features appear in the same directions and relationship as they do around you. This method is less reliable in flat terrain, dense forest, darkness, or poor weather.
Keep the map oriented as you walk, but protect it from rain and avoid folding it so heavily that important junctions disappear. A transparent map case can make field use easier.
Taking and Following a Bearing
To take a bearing, point the compass’s direction-of-travel arrow at your destination, turn the bezel until its orienting arrow matches the magnetic needle, and then walk while maintaining that direction. A bearing is a direction measured in degrees clockwise from north.
For a map bearing, place the straight edge of the compass from your current location to your destination. Keep the direction-of-travel arrow pointing toward the destination. Rotate the bezel so the orienting lines run parallel with the map’s north-south lines, with the orienting arrow pointing toward map north. Lift the compass, then adjust for magnetic declination if your map and compass require it.
For a compass bearing, hold the compass level at chest height. Point the direction-of-travel arrow at a visible target, such as a tree or trail junction. Turn the bezel until the orienting arrow and magnetic needle align. Read the degree marking at the index line, then choose a safe intermediate landmark along that direction.
Do not stare at the compass while walking. Walk toward a selected landmark, then check the compass again. At each checkpoint, confirm your location with the map and terrain before setting the next bearing. This is more accurate than trying to travel a long distance while continuously watching the needle.
A bearing tells you direction, not distance or safety. A straight line may cross a cliff, private property, dense brush, or deep water. Route planning must combine bearing, terrain, trails, elevation, and group ability.
Using Landmarks and Terrain Features
Landmarks and terrain features help you confirm your position and catch navigation errors early. Match visible features such as hills, valleys, trails, streams, ridges, fences, and buildings with their symbols and shapes on the topographic map.
Begin with large, reliable features. A prominent ridge, lake, highway, or isolated summit is easier to identify than a small tree or temporary sign. Then use smaller details to refine your location. For example, a scout team might follow a trail beside a stream, pass a bridge, climb gradually through widely spaced contour lines, and stop at a junction below a rounded hill.
Contour lines help you predict what walking will feel like. A route crossing many tightly packed lines will require more effort than one following a contour around a slope. A saddle, spur, ridge, or valley can also serve as a checkpoint because its shape remains more dependable than a temporary object.
Use the three-way confirmation method before committing to a turn:
- Map: Does the symbol and route match your expected location?
- Compass: Does the direction agree with the planned bearing?
- Landscape: Do the visible slopes, trails, and landmarks fit?
If one source disagrees with the other two, pause. The map may be outdated, the compass may be affected by metal equipment, or the group may have passed the intended checkpoint.
Planning a Safe Navigation Practice
To plan a safe navigation practice, choose a short route with clear checkpoints, use buddy teams, and prepare an adult-supervised backup plan. The goal is accurate decision-making, not covering the greatest distance.
Before leaving, share the route with a responsible adult or troop leader. Check the forecast, daylight, local hazards, water availability, and access rules. Carry suitable footwear, layers, water, food, a first-aid kit, a whistle, a charged phone for emergencies, and the map and compass. Technology can support safety, but it should not replace the primary navigation skill being practiced.
Choose checkpoints that are easy to describe and verify:
- A trail intersection or bridge.
- A stream crossing or distinct bend.
- A hilltop, saddle, or change in slope.
- A marked campsite, gate, or building.
Keep scouts in visual or agreed voice contact, depending on the setting and troop procedures. Each buddy team should carry or understand the route, but the group should remain together unless adults have established another safe arrangement.
If the group becomes unsure
Stop immediately and prevent the group from scattering. Return to the last confirmed location if it is safe and clearly known. Reorient the map, compare terrain features, and tell the adult leader what is uncertain. If the group cannot confirm its position, follow the established emergency plan and seek help rather than continuing at random.
Navigation practice should feel challenging but controlled. A 30- to 60-minute route with visible boundaries and a known meeting point is often enough for a first session.
Common Beginner Mistakes
Most beginner navigation errors come from skipping checks, misreading elevation, or trusting one tool too much. Recognizing these patterns makes correction easier.
Misreading contour lines
The error: Treating contour lines as ordinary route lines or assuming a close group of lines means flat ground. Why it happens: Beginners focus on the trail symbol and overlook elevation. Consequence: A route that looks short may become a steep climb or difficult descent. Correction: Check the contour interval and spacing before choosing a route.
Confusing map and compass directions
The error: Holding the compass sideways, reading the wrong end of the needle, or mixing up the direction-of-travel arrow and orienting arrow. Why it happens: The arrows look similar on some baseplate compasses. Consequence: The group can walk consistently in the wrong direction. Correction: Practice on a flat surface and say the sequence aloud: destination, bezel, needle, travel.
Skipping route checks
The error: Walking for a long time without confirming location. Why it happens: The group feels confident after starting correctly. Consequence: An early wrong turn becomes difficult to undo. Correction: Check at every junction, major feature, and planned checkpoint.
Relying too heavily on a phone
The error: Treating GPS or a navigation app as the only source of direction. Why it happens: Digital maps provide an immediate position. Consequence: Dead batteries, poor reception, damaged devices, or incorrect map data can leave the group without a plan. Correction: Keep map-and-compass skills primary and use electronic devices only as a backup when permitted.
Map-and-Compass Navigation FAQ
What is the difference between a map bearing and a compass bearing?
A map bearing is measured by aligning a compass with a route drawn on the map. A compass bearing is taken in the field by pointing the compass toward a real-world destination. Both describe direction in degrees, but one begins on paper and the other begins in the landscape.
How do you orient a map without a compass?
Use two or more known landmarks. Rotate the map until hills, roads, buildings, or other features appear in the same directions and relationships as they do around you. This works best in open, familiar terrain and is less dependable in poor visibility.
What do contour lines tell you?
Contour lines show elevation and the shape of the land. Close spacing indicates a steep slope, while wide spacing indicates gentler ground. Their patterns can reveal hills, valleys, ridges, saddles, and stream channels.
What should you do if you get lost while navigating?
Stop, stay with the group, and avoid wandering farther. Return to the last confirmed location if safe, reorient the map, compare the terrain with the map, and inform the adult leader. If the position remains uncertain, follow the group’s emergency plan and seek help.
How can scouts practice map-and-compass skills safely?
Start with an adult-supervised area, short routes, visible landmarks, and clearly marked checkpoints. Use buddy teams, carry appropriate gear, practice the stop-check-confirm routine, and increase difficulty only after scouts can orient a map and verify their location consistently.